Getting Started

How to install and activate BIMLOGIQ Copilot

BIMLOGIQ

Written by

Amir Dezfouli

Published

Feb 6, 2022

Getting Started

How to install and activate BIMLOGIQ Copilot

BIMLOGIQ

Written by

Amir Dezfouli

Published

Feb 6, 2022

Getting Started

How to install and activate BIMLOGIQ Copilot

BIMLOGIQ

Written by

Amir Dezfouli

Published

Feb 6, 2022

Steps to install and activate BIMLOGIQ Copilot

1. Download the BIMLOGIQ Copilot installation file from BIMLOGIQ Copilot Homepage.

2. Close Revit, then run the installer and follow the on-screen instructions to complete the installation process.

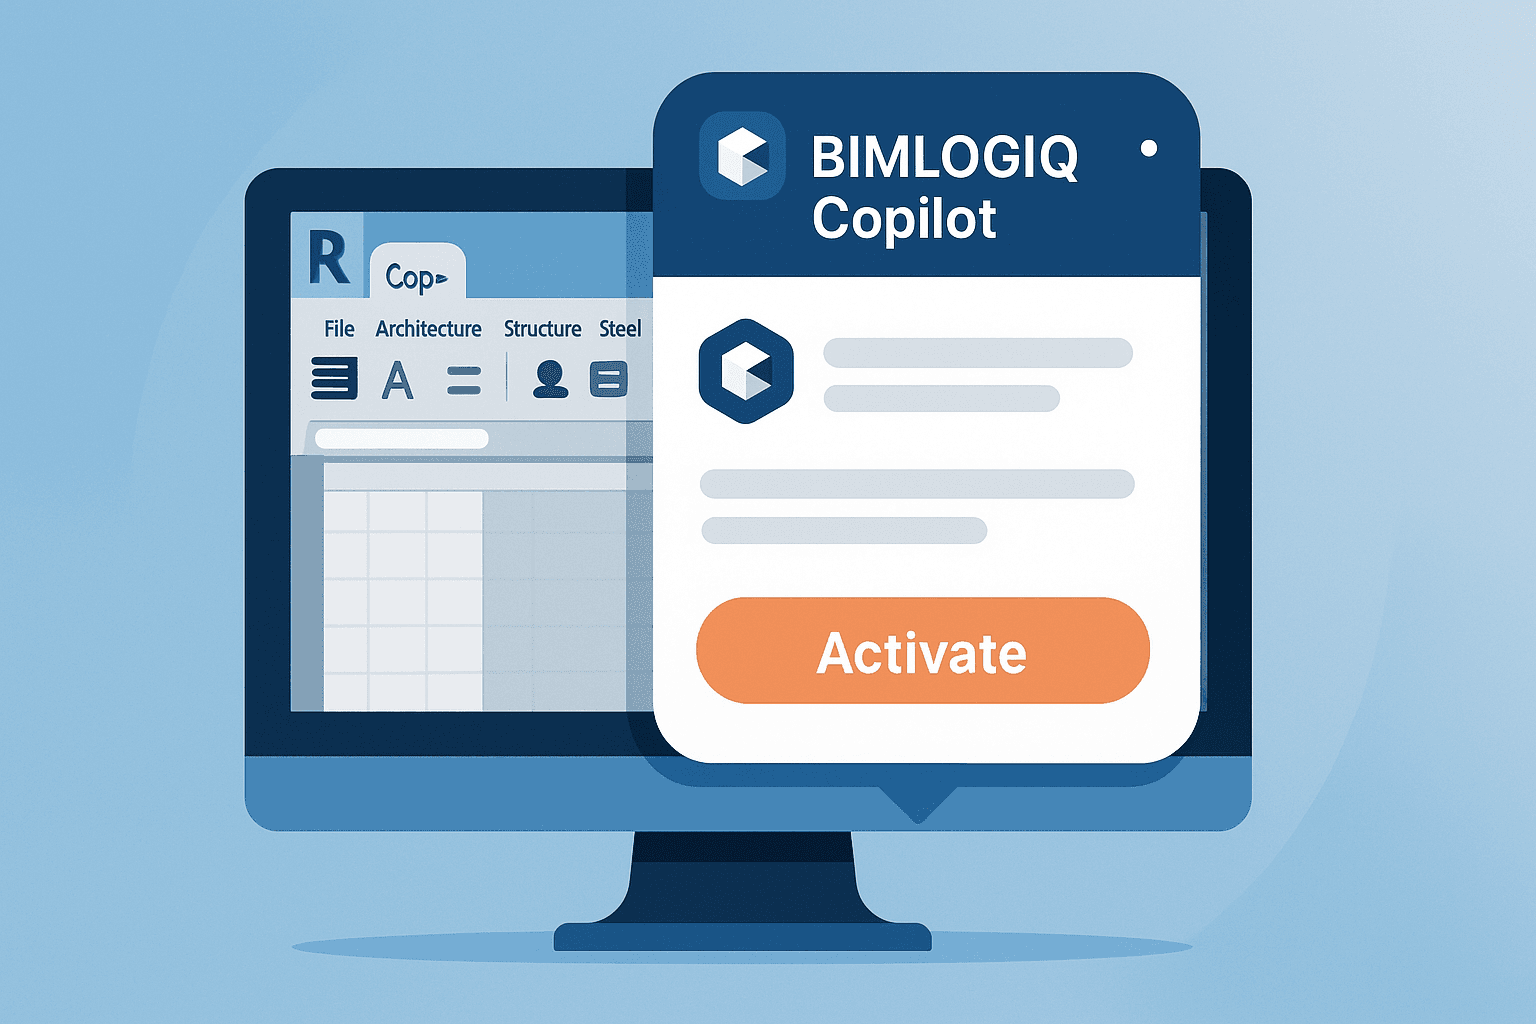
3. Open Revit. BIMLOGIQ Copilot will appear on the top ribbon.

4. Click on the "Account" button and log in using your credentials, or click "Sign Up" if you don’t have an account.

5. Click "Activate" at the bottom of the window to activate your Copilot.

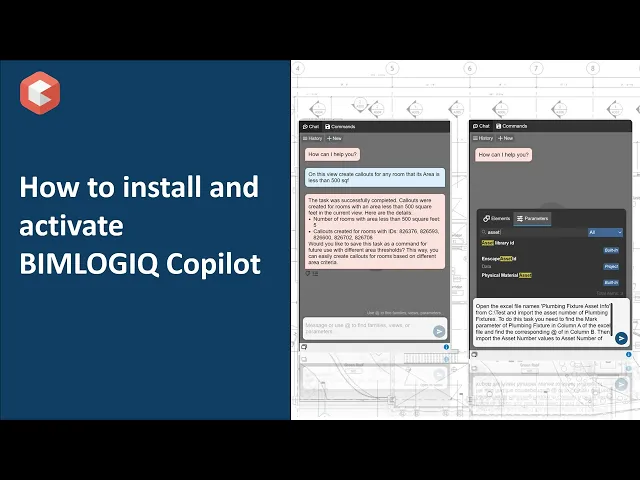
6. Close the window and click on the "Copilot" button to open the Copilot.


Copyright © 2024 BIMLOGIQ

Contact Us: support@bimlogiq.com

Level 4/1 Castlereagh St, Sydney, NSW 2000
ACN 639 389 727
ABN 33 639 389 727

Copyright © 2024 BIMLOGIQ

Contact Us: support@bimlogiq.com

Level 4/1 Castlereagh St, Sydney, NSW 2000
ACN 639 389 727
ABN 33 639 389 727