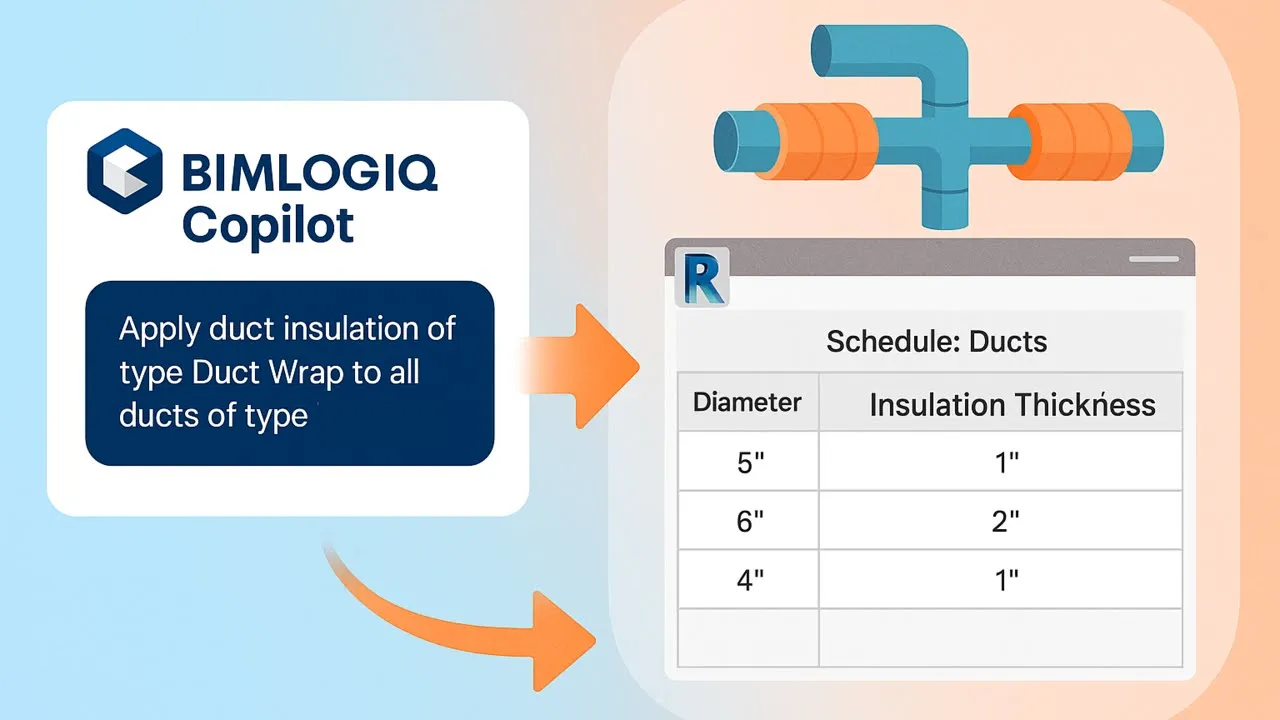
Manually applying and adjusting duct insulation can be time-consuming and error-prone, particularly in complex HVAC design workflows. In this guide, we demonstrate how to use BIMLOGIQ Copilot’s AI capabilities to automate the insulation process efficiently.
By prompting BIMLOGIQ Copilot’s AI, you can automatically apply insulation based on predefined parameters, such as duct type and diameter. The AI also allows you to adjust insulation thickness dynamically (e.g., 2 inches for ducts >5 inches and 1 inch for smaller ducts) and ensures consistent application across various system types like Supply Air and Return Air.
Additionally, we show how to save this AI-driven automation command within BIMLOGIQ Copilot, making it reusable for future projects. This AI-powered approach simplifies your workflows, improves precision, and saves valuable time on HVAC designs.
Prompt
Prompt 1: Apply duct insulation of type Duct Wrap to all ducts of type Tees in the current view. For ducts with a System Type of "Supply Air," use 2-inch insulation if the duct diameter exceeds 5 inches. If the diameter is 5 inches or smaller, use 1-inch insulation instead.
Prompt 2: Save this promt with proper variables.