Mastering Command Customization in BIMLOGIQ Copilot
Learn how BIMLOGIQ Copilot lets you save, edit, and share Revit automation commands, turning one-time prompts into reusable, customizable tools for your workflow.
From Prompt to Command
In this article, we’ll explore BIMLOGIQ Copilot and its capabilities that go far beyond being just a chat tool. We’ll also take a closer look at one of its most useful features — command editing.
One of the main challenges with Revit chatbots that generate code instantly (without relying on built-in functions) is consistency. Even if a prompt successfully completes a task once, there’s no guarantee it will produce the same result when repeated.
And even if you do manage to recreate the same output, you still have to retype your entire prompt and wait for BIMLOGIQ Copilot to generate the code again — a process that quickly becomes repetitive and time-consuming.
To solve this, BIMLOGIQ Copilot takes Revit automation to the next level. It introduces a powerful feature that lets users save their successful tasks as reusable commands — and even better, edit them whenever needed. This means you can refine, adjust, and improve your commands effortlessly, all without having to start from scratch.
Understanding the Command System in BIMLOGIQ Copilot
First, let’s talk about the command-saving system in BIMLOGIQ Copilot.
To put it simply, when a user describes their task in chat, BIMLOGIQ Copilot analyzes the request using its built-in Revit domain knowledge and internal logic. It then creates a structured execution plan that defines how the task should be performed.
This means that instead of generating random pieces of code each time, BIMLOGIQ Copilot intelligently interprets your intent, determines the required Revit API operations, and produces a consistent, executable result.
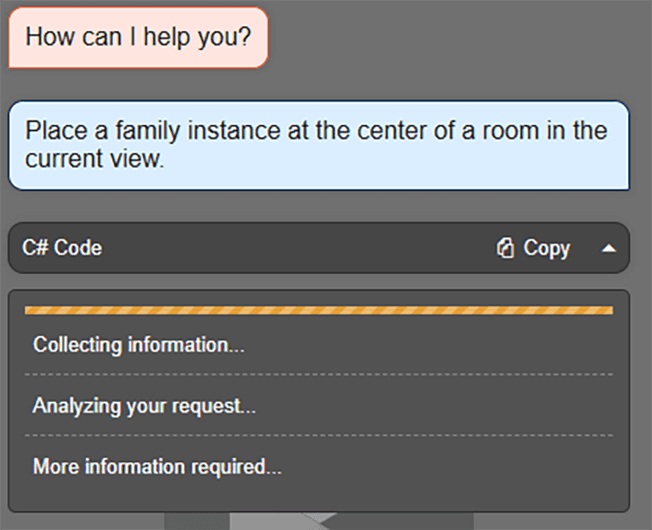
For example, let’s say we ask BIMLOGIQ Copilot to place a family instance inside a room.
The user simply describes this request in natural language — something like:
“Place a family instance at center of a room in current view.”
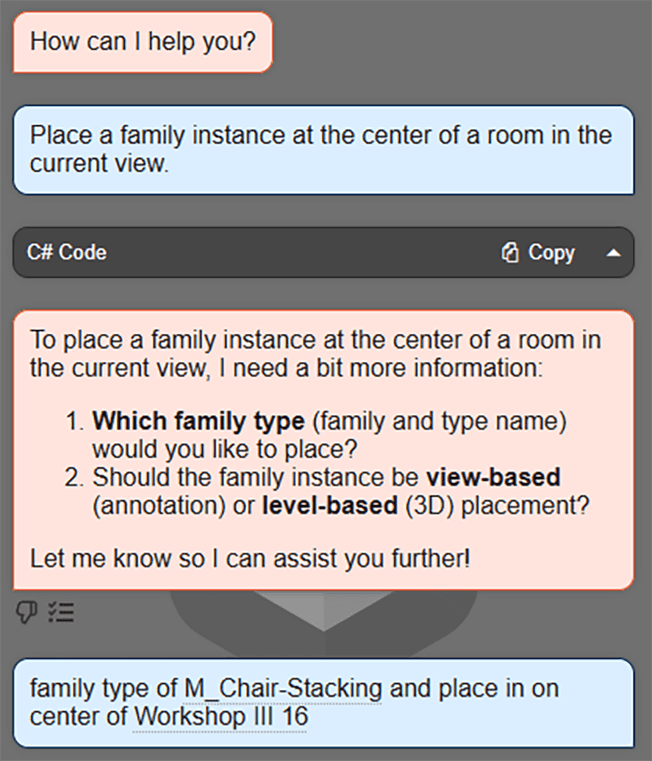
If additional information is required after the analysis, BIMLOGIQ Copilot asks the user for it, and the user provides the necessary details.
After receiving the needed data, BIMLOGIQ Copilot — using various internal instructions and related C# code samples — starts generating the proper C# code for the task.
When the code is successfully created, it is sent from the server to Revit and executed.
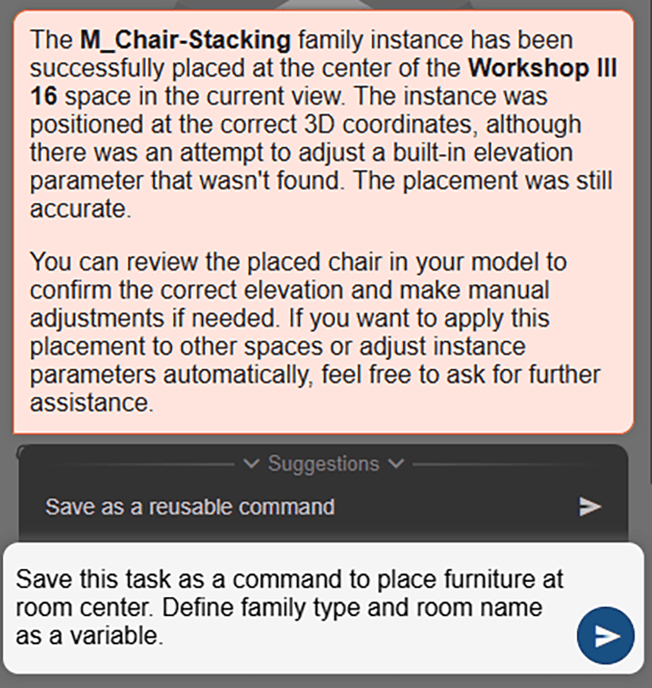
If the operation completes successfully, the user can choose to save it as a command. Otherwise, they can ask BIMLOGIQ Copilot to modify the code and generate a new one.
When saving a command, it’s important to know that each command can include different types of variables as its inputs.
For example, a command might have text inputs, numeric values, element type/family selectors, or file pickers — depending on what kind of data the task needs to perform correctly.
Therefore, when asking BIMLOGIQ Copilot to save a command, it’s recommended to explicitly tell it what type of variables you want for each input.
For instance, you can say:
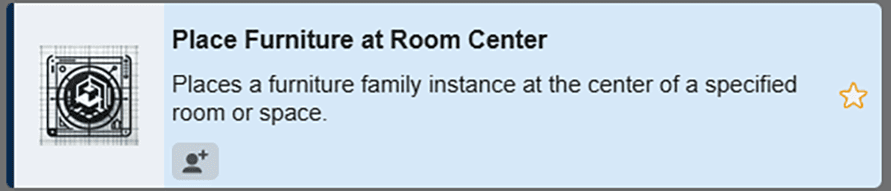
“Save this task as a command to place furniture at room center. Define family type and room name as a variable.”
By doing this, you ensure that the saved command has clear, well-defined inputs that will appear properly the next time you execute it.
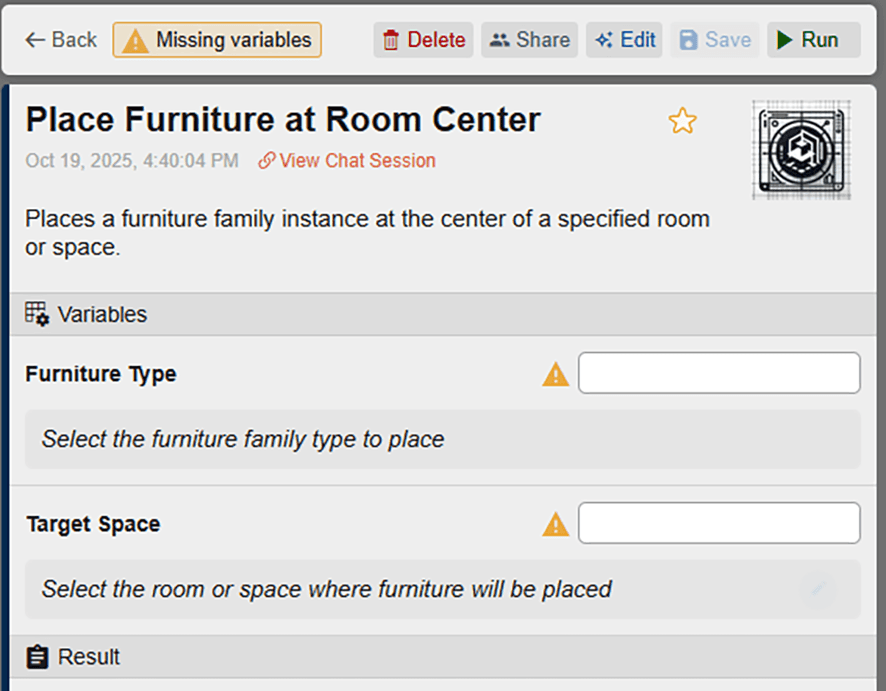
After a successful execution, BIMLOGIQ Copilot saves the generated code along with these input definitions and turns it into a Saved Command, which can be accessed later from the command list.
This saved command can be executed at any time and in any project, and it can also be shared with colleagues if needed.
Customizing Saved Commands
At this point, a common question may arise:
What if the user wants to make small adjustments to an existing command — such as adding or removing an input, or changing part of the task’s behavior?
At first glance, it might seem that the only solution is to start a new chat and recreate the command from scratch.
However, BIMLOGIQ Copilot makes this process much simpler by allowing users to edit their existing commands directly.
If, after saving and executing a command, you realize that it needs improvement or modification, you can easily reopen it from your command list.
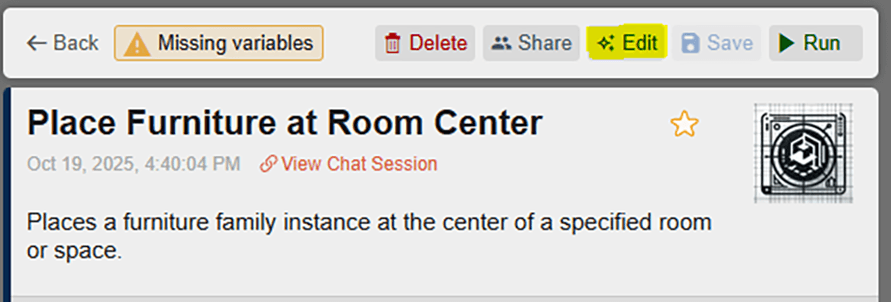
Simply click the Edit button. This action opens a new chat session — but unlike starting from zero, all previous context remains available. That includes the previously generated code, task data, and configurations you’ve already set up.
This way, you can refine and enhance your commands effortlessly, without losing valuable progress or context.
The user doesn’t need to reintroduce everything or guide BIMLOGIQ Copilot from scratch. They only need to explain the new changes, and BIMLOGIQ Copilot intelligently updates the existing code — modifying only the necessary parts while leaving the rest untouched.
This feature allows users to quickly and effortlessly edit their commands without wasting time or requiring any programming knowledge. Everything happens naturally through simple chat instructions. Once the edits are complete, BIMLOGIQ Copilot automatically saves the updated version as a new command in the user’s command list.
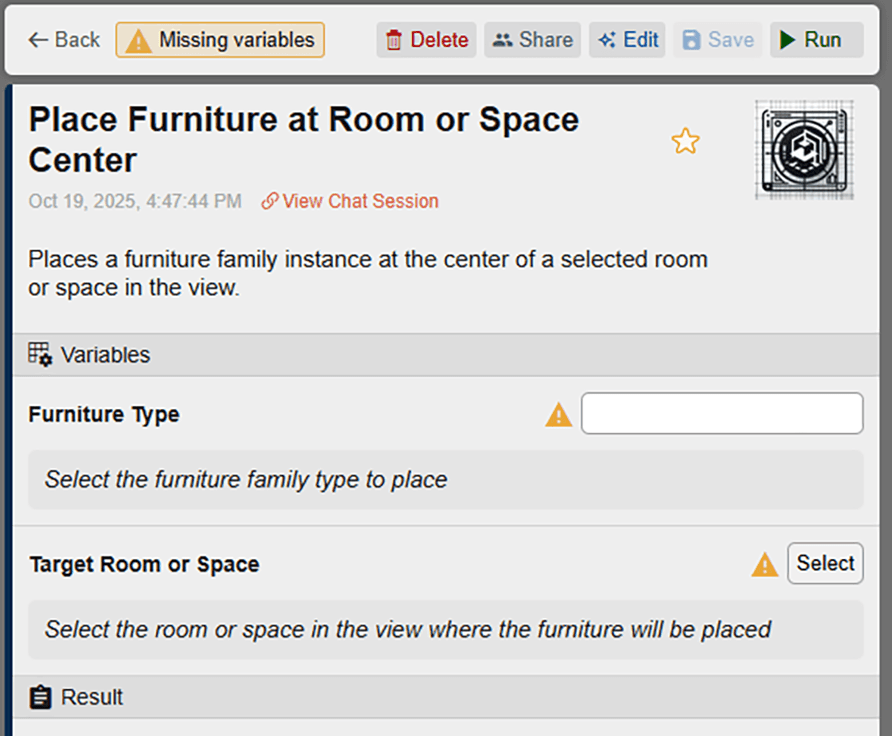
For example, if you need to change a variable’s type, you can simply ask BIMLOGIQ Copilot to do so. To make this change, click the Edit button in the command window, which opens a new chat session. In this chat, describe your request in plain language.

This will create a new saved command with your modifications, and if you no longer need the previous one, you can delete it.
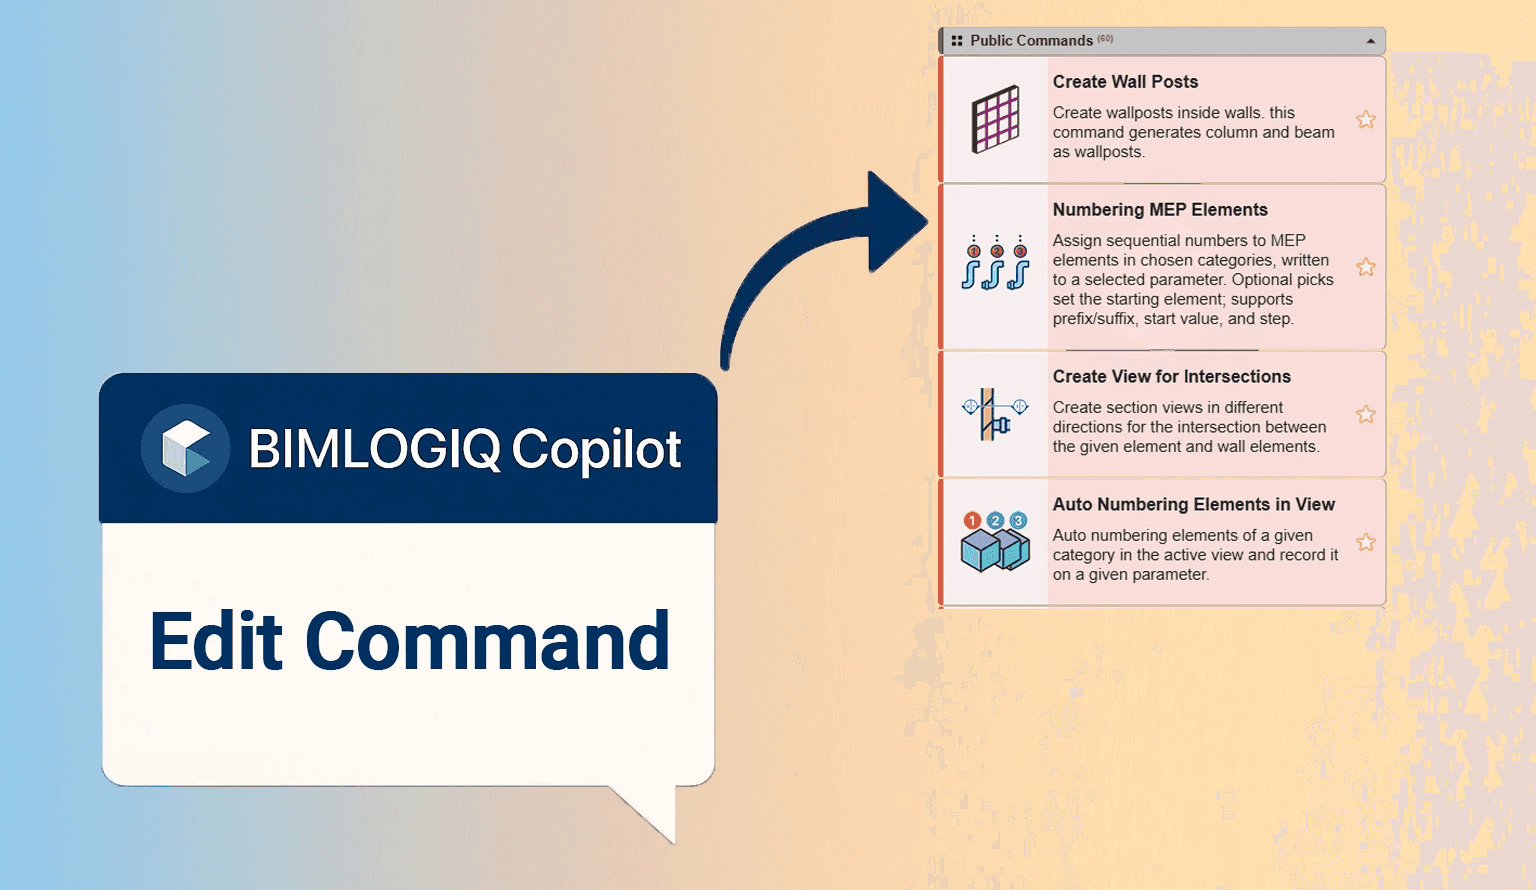
Editing Public Commands
In addition to personal commands, there’s another powerful category called Public Commands.
These are pre-built commands developed by BIMLOGIQ, designed to handle frequently used or complex Revit automation tasks. Unlike user-created commands, Public Commands often include advanced logic and multi-step operations that streamline repetitive workflows.
New Public Commands are continuously added over time, expanding the range of ready-to-use tools available to every BIMLOGIQ Copilot user. You can find them in your command list under the “Public Commands” category.
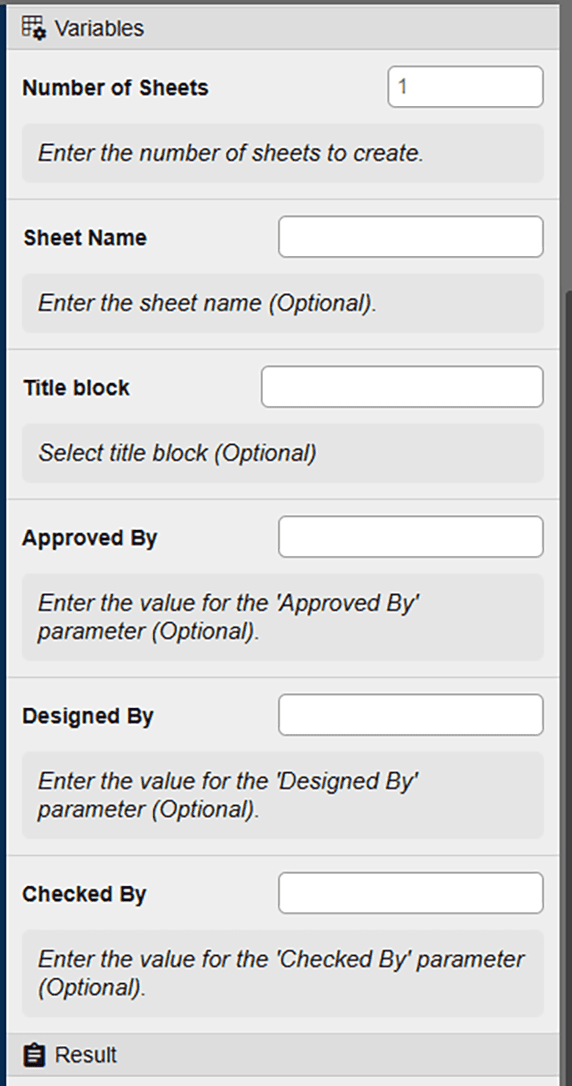
For example, consider the Public Command “Create Batch Sheet.” This command allows you to generate multiple sheets in a Revit project at once, significantly reducing manual setup time. It includes several configurable input fields — such as Number of Sheets, Sheet Name, Title Block — so users can easily customize the output to fit their project standards.
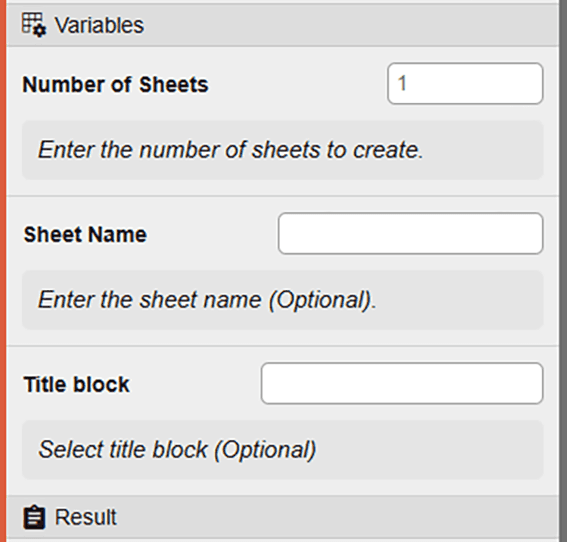
- Number of Sheets — to specify how many sheets to create
- Sheet Name — to enter the names for the new sheets
- Title Block — to select the title block family
Continuing with our example, imagine you also want to fill in parameters such as Approved By, Designed By, or Checked By for the new sheets. However, the current Public Command doesn’t include these inputs.
In such cases, you can easily edit the Public Command to add the fields you need.
To do this, go to the Commands tab, filter the list to display Public Commands, and select the one you want to modify.
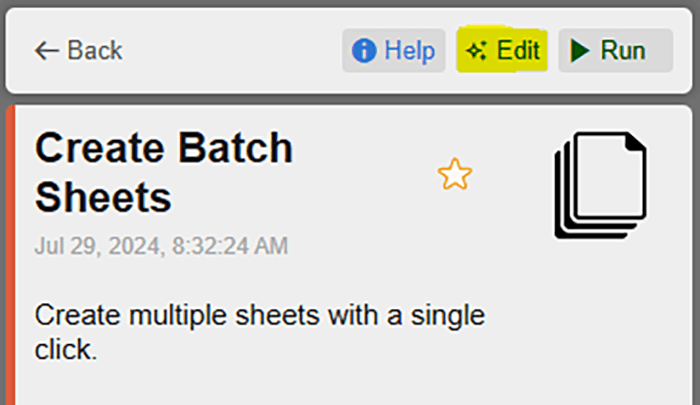
On the opened page, you’ll see all the inputs and data required to execute the command. At the top of the page, there’s an Edit button.
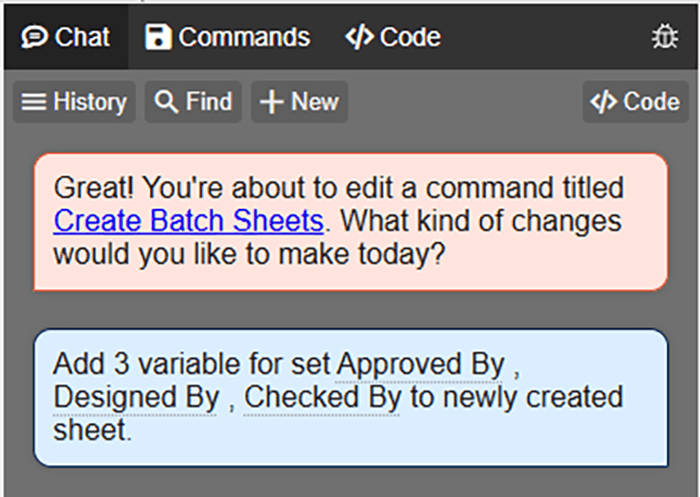
By clicking it, a new chat session opens, and BIMLOGIQ Copilot asks you to describe the changes you want to make.

At this stage, you can ask BIMLOGIQ Copilot to apply the modifications you need.
For example, you can tell BIMLOGIQ Copilot to add new inputs to fill in the parameters Approved By, Designed By, and Checked By.
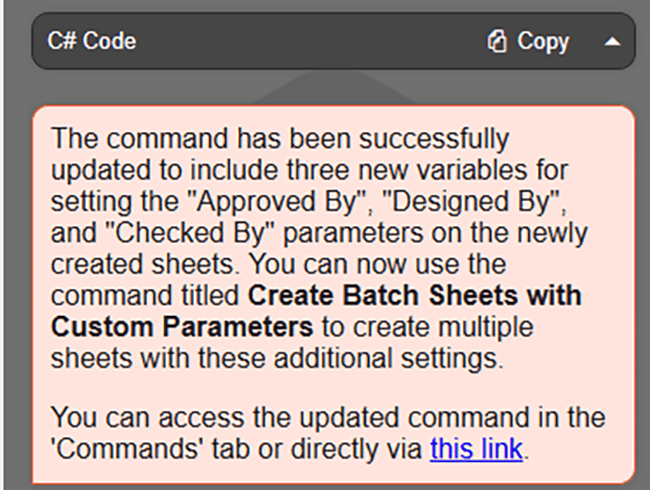
BIMLOGIQ Copilot will then start applying the required changes to the source code. Only the necessary parts are modified, while the rest of the code remains unchanged.
After finishing, BIMLOGIQ Copilot saves the edited command as a new Saved Command, which you can find in your list of saved commands.
You can test the saved command, and if further changes are needed, you can repeat the editing process again.
Building Complex Commands Through Iterative Editing
Sometimes, users need to automate multi-step or complex tasks. These can’t always be completed with a single prompt. To create a reliable saved command for such workflows, it’s best to break the process into smaller steps, ask BIMLOGIQ Copilot to perform each step in sequence, and verify success before moving on. Once all steps are complete, you can ask BIMLOGIQ Copilot to save the entire workflow as a single command.
Example: Create a schedule listing all rooms visible in a specific view
Revit doesn’t support this directly. To achieve it, you can use a two-step approach:
1. Mark rooms in the active view.
Ask BIMLOGIQ Copilot to set a specific value (e.g., “VisibleInView”) in a chosen parameter (such as Comments) for all rooms visible in the active view.
2. Build the schedule with a filter.
Ask BIMLOGIQ Copilot to create a Room Schedule, include the Comments parameter, and filter the schedule to show only rooms with the value “VisibleInView”.
A single prompt like “Create a schedule of rooms in the active view” might fail, but splitting the task ensures each part runs successfully. When you’re satisfied with the results, ask BIMLOGIQ Copilot to save the whole process as one command, with configurable inputs such as parameter name, parameter value, and schedule name.
This iterative approach turns even complex, multi-stage workflows into reusable commands, improving reliability and reducing repetitive work.
Sharing and Collaboration Features
Another useful feature of the BIMLOGIQ Copilot command system is the ability to share commands.
After creating a new command or editing an existing one, you can share it with your colleagues so they don’t need to recreate it themselves.
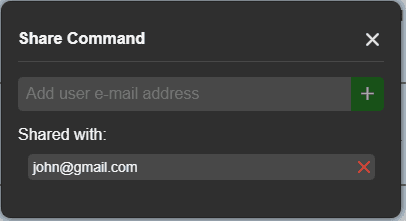
To do this, go to the command page or the command list, click the Share button, and enter your colleague’s email.
This will add the command to their Shared Commands list, and they can easily use it in their own projects.
Conclusion: Turning BIMLOGIQ Copilot into Your Personalized AI Assistant
BIMLOGIQ Copilot is more than just a chatbot — it’s a personalized AI assistant that helps you create, edit, and share intelligent Revit commands with ease.
With its command-saving and editing capabilities, it allows users to turn one-time tasks into reusable tools that can evolve and improve over time.
By enabling collaboration and customization, BIMLOGIQ Copilot transforms Revit automation into a powerful and flexible system — one that adapts to your workflow and grows with your experience.